Lovely layer cake-ing
Every cake-layering glory story began with some
busted-up, broken, crumb-covered fails. And
buckets of tears! But it really only takes practice
and a tenacious can-do caking spirit to become
a layering legend.
If you hit a mild buttercream setback during
assembly, stop, swipe of the buttercream as
best you can, rest and restart. If it’s REALLY
calamitous, put down your offset and walk away
to do some calming box breathing (four counts
each inhale, hold, exhale, hold). Come back
when you are ready and cover any un-aesthetic
bits by throwing on whatever you have on
hand to bring some beauty – crushed streusel,
chocolate bark, flowers and more flowers!
Watch LOTS of cake-icing videos, practise,
and don’t talk yourself out of achieving this
skill. We all start as beginners with cake and
buttercream, learning to layer. And if I can do
it, so can YOU! It is your destiny.
Always serve with pride, no matter how wonky.
You challenged yourself in the baking arena,
dammit! You deserve a HUGE gold star!
Ready, offset spatula in hand, let’s slay at layering.
We are slayering!
Ideally, the layers for butter cakes should be at
least a few hours old before assembly. Fresh cake
is fragile, but still do-able with careful hands.
Bring your buttercream to a thick, cream-like
consistency. See Buttercreaming top tips on
page 252.
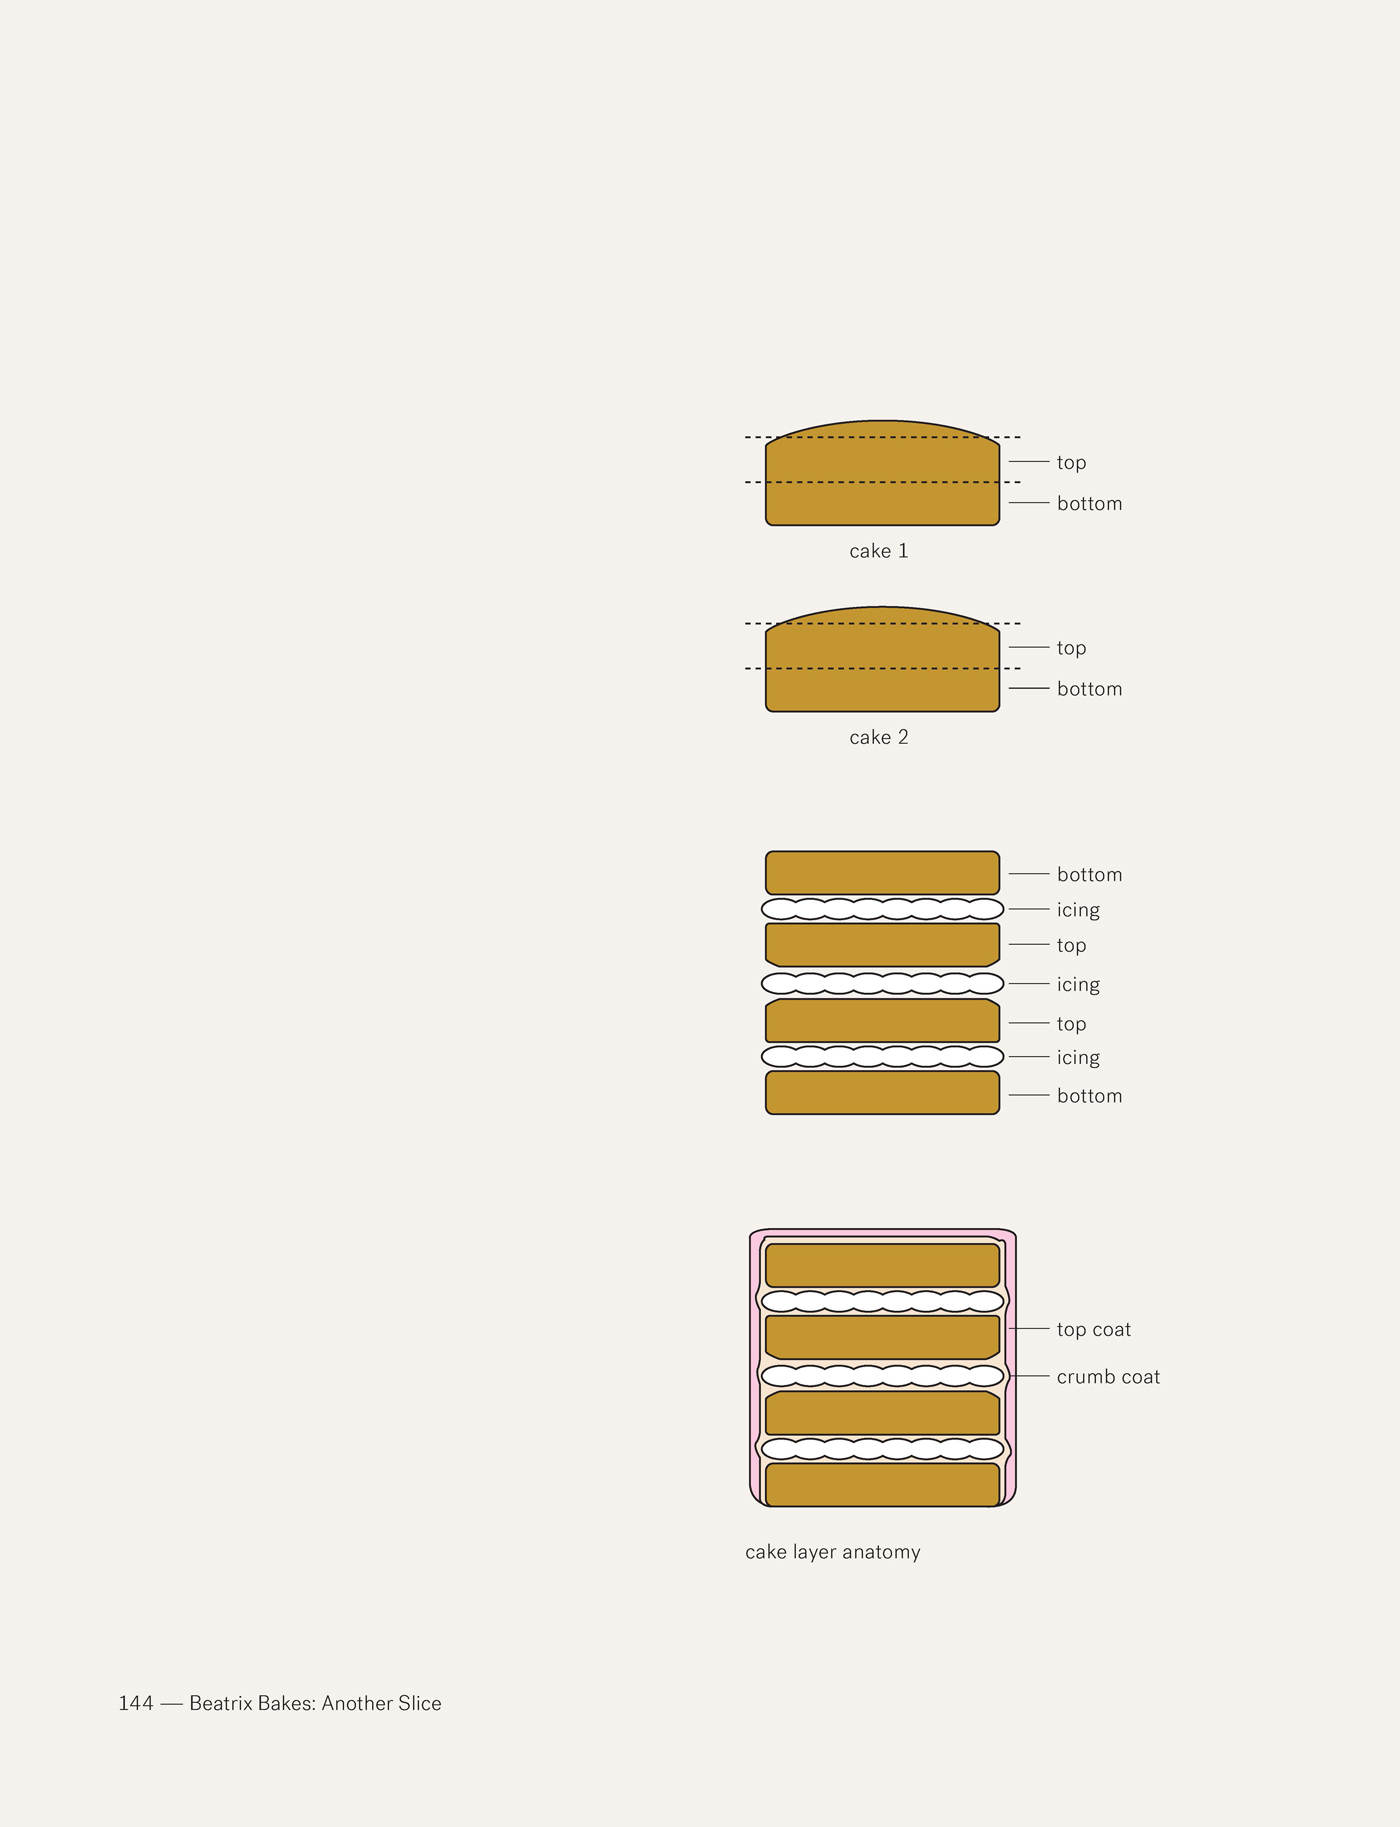
Now, let’s establish that the BOTTOM of the cake
is the part that baked in the base of the tin. The
TOP is the crust side. So, no matter how the cake
is flipped and cooled, these will always be the top
and bottom reference points for assembly.
top
bottom
cake 2
top
bottom
top
top
icing
icing
bottom
bottom
icing
cake layer anatomy
crumb coat
top coat
cake 1